Skip to content

YOUR PRODUCT. THE RIGHT INSTRUCTIONS.

Manuals & downloads.

Get to know your LINKSOLAR gear. Download your product's English user manual for setup, operation and everyday care.

7 manuals available

Solar Open-Ear Audio Visor
OPEN-TOP AUDIO HAT

Solar Open-Ear Audio Visor

Your guide to open-ear listening, Bluetooth pairing and solar-assisted charging.

English · PDF · 8 pages · 0.72 MB
Download PDF

Step-by-step help & troubleshooting →

Setup & care notes

Pairing name: LONNV P100. From power off, hold the power button for about 3 seconds to enter pairing mode, then select this name in your phone's Bluetooth settings.

Connect one Bluetooth device at a time. Disconnect the current device before pairing another.

For charging issues, check the light reaching the solar panel or try another USB cable. Do not wash the hat with water or bend the solar panel excessively.
Need more help? Contact support ↗

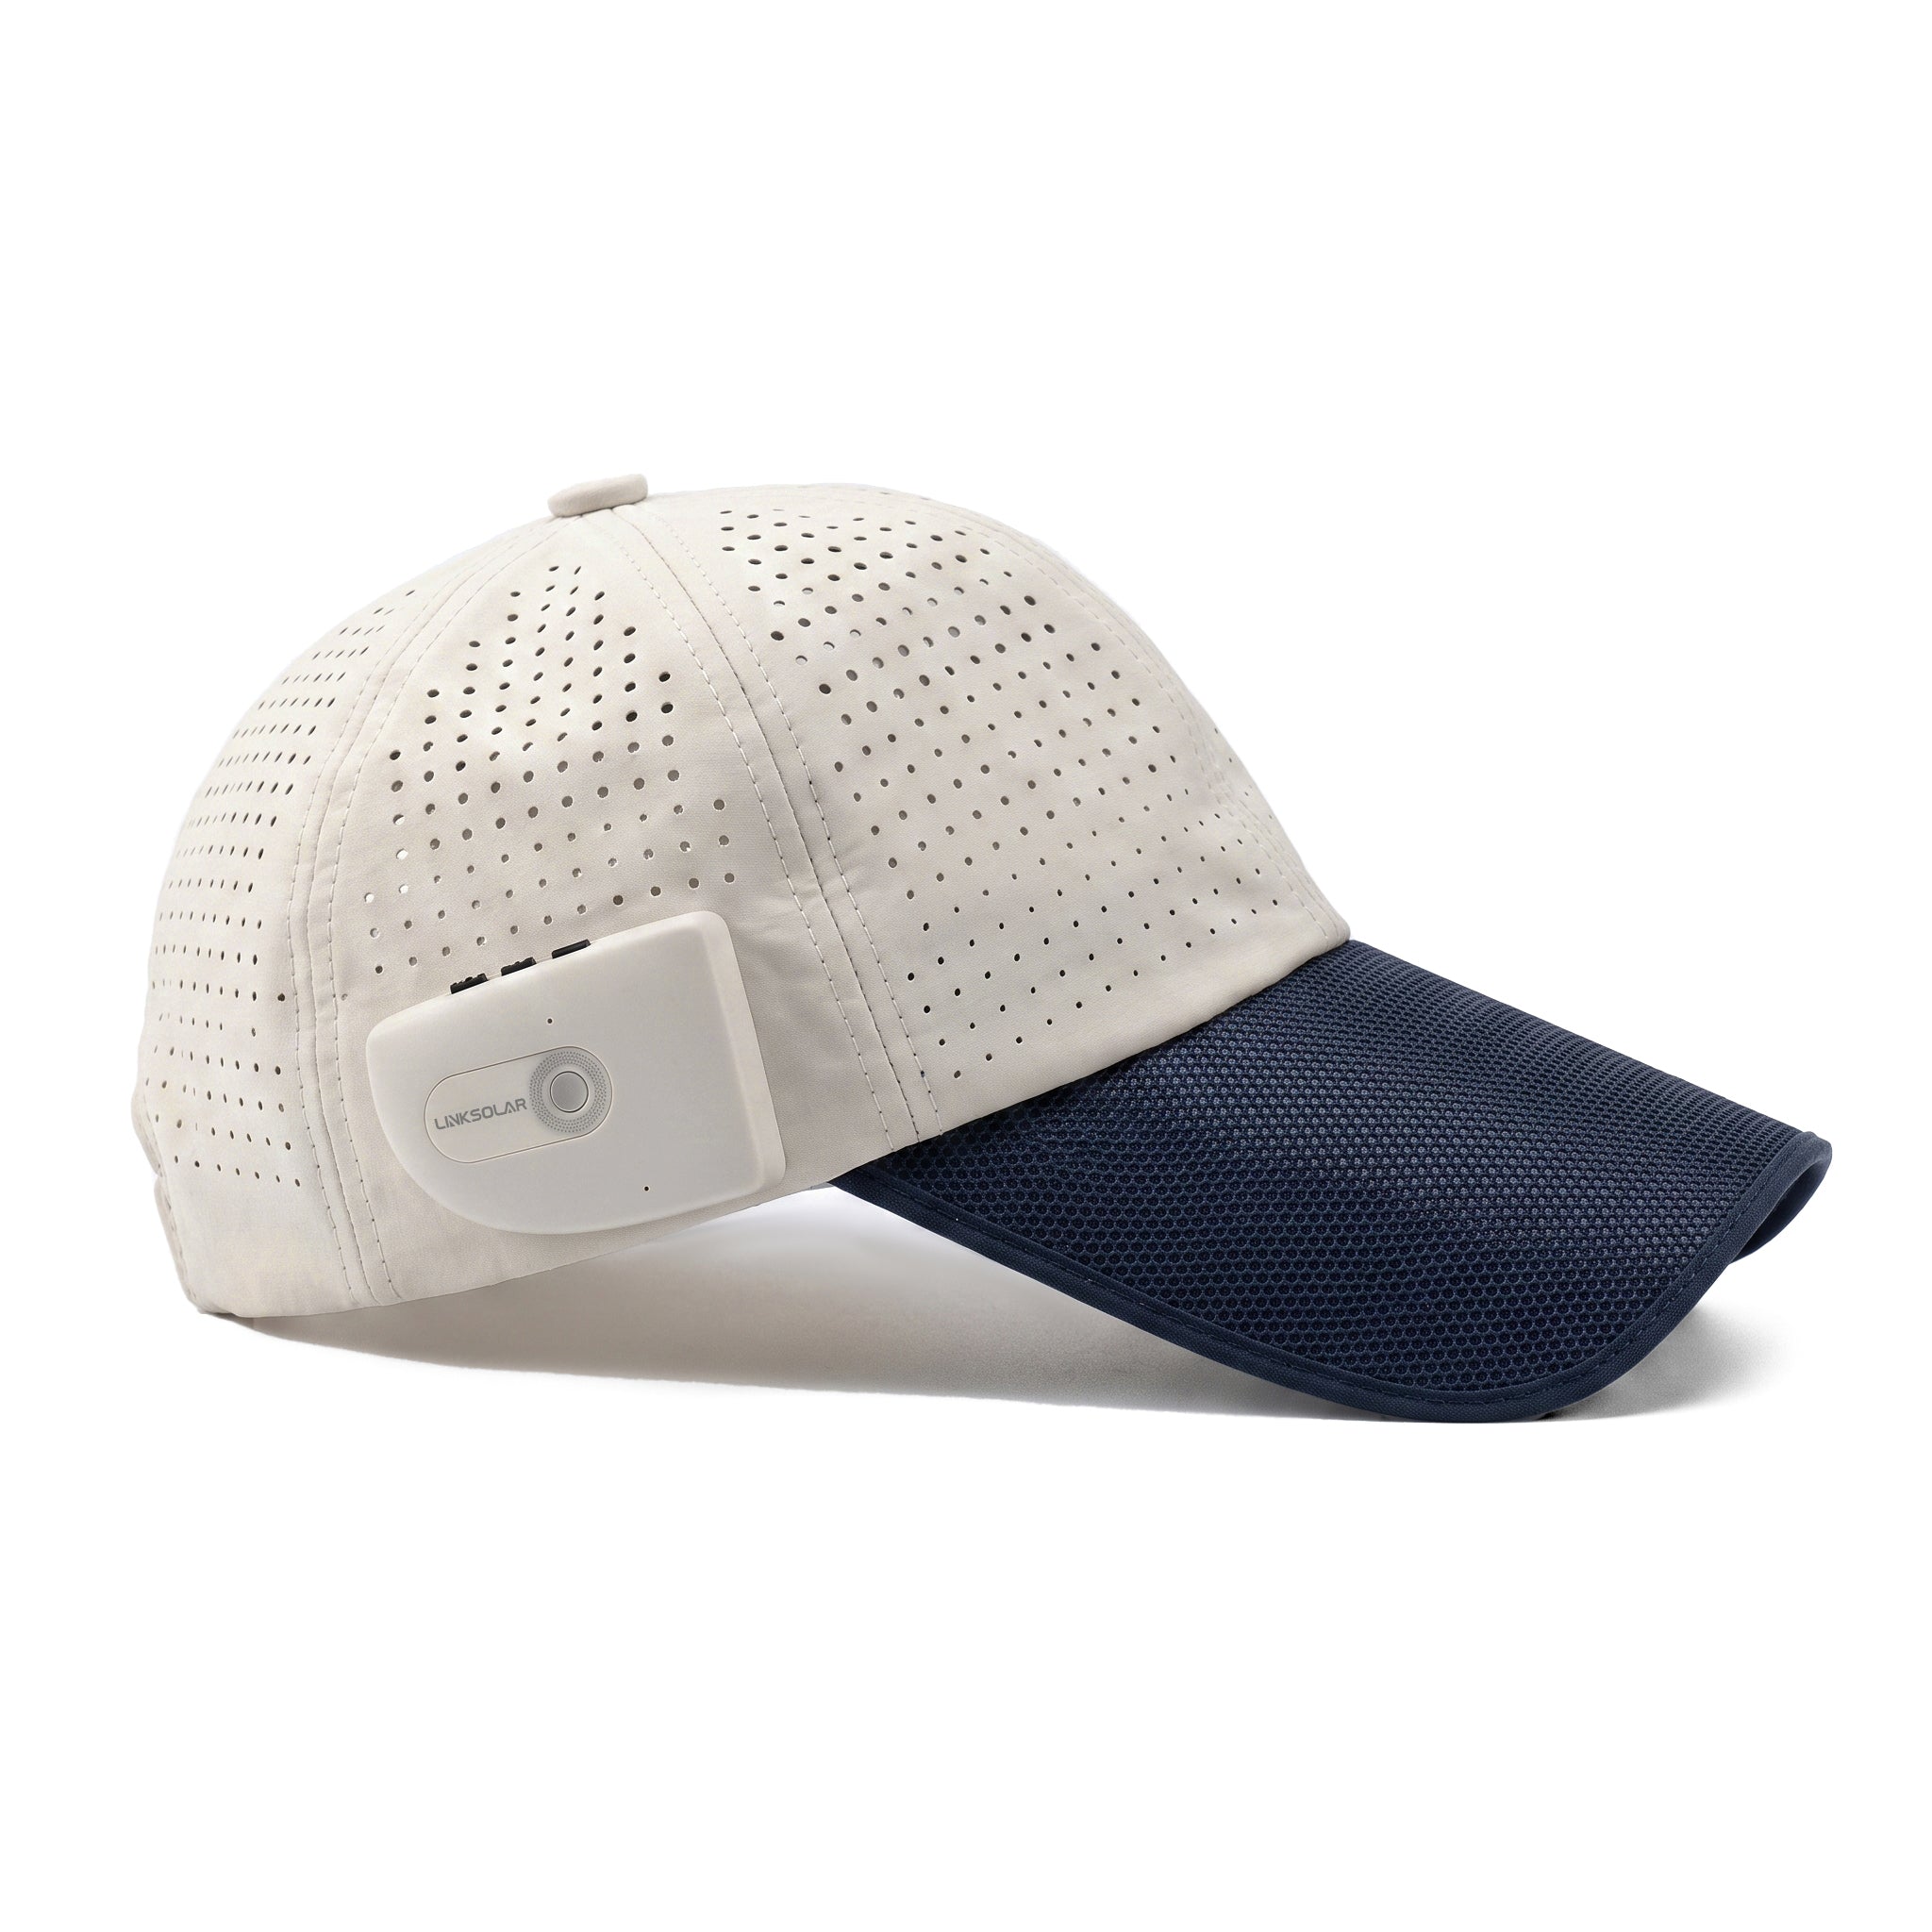
Solar Open-Ear Audio Cap
FULL-TOP AUDIO HAT

Solar Open-Ear Audio Cap

Setup, controls, charging and care for your full-top solar audio cap.

English · PDF · 9 pages · 1.64 MB
Download PDF

Step-by-step help & troubleshooting →

Setup & care notes

Pairing name: LINKSOLAR-SC. From power off, hold the power button for about 3 seconds, then select this name in your phone's Bluetooth settings.

The white light flashes during USB-C charging and turns off when fully charged. Follow the manual for the correct input requirements.

Keep the panel uncovered for solar charging. Wipe moisture off with a dry cloth and let the cap dry at room temperature. Do not wash with water.

Need more help? Contact support ↗

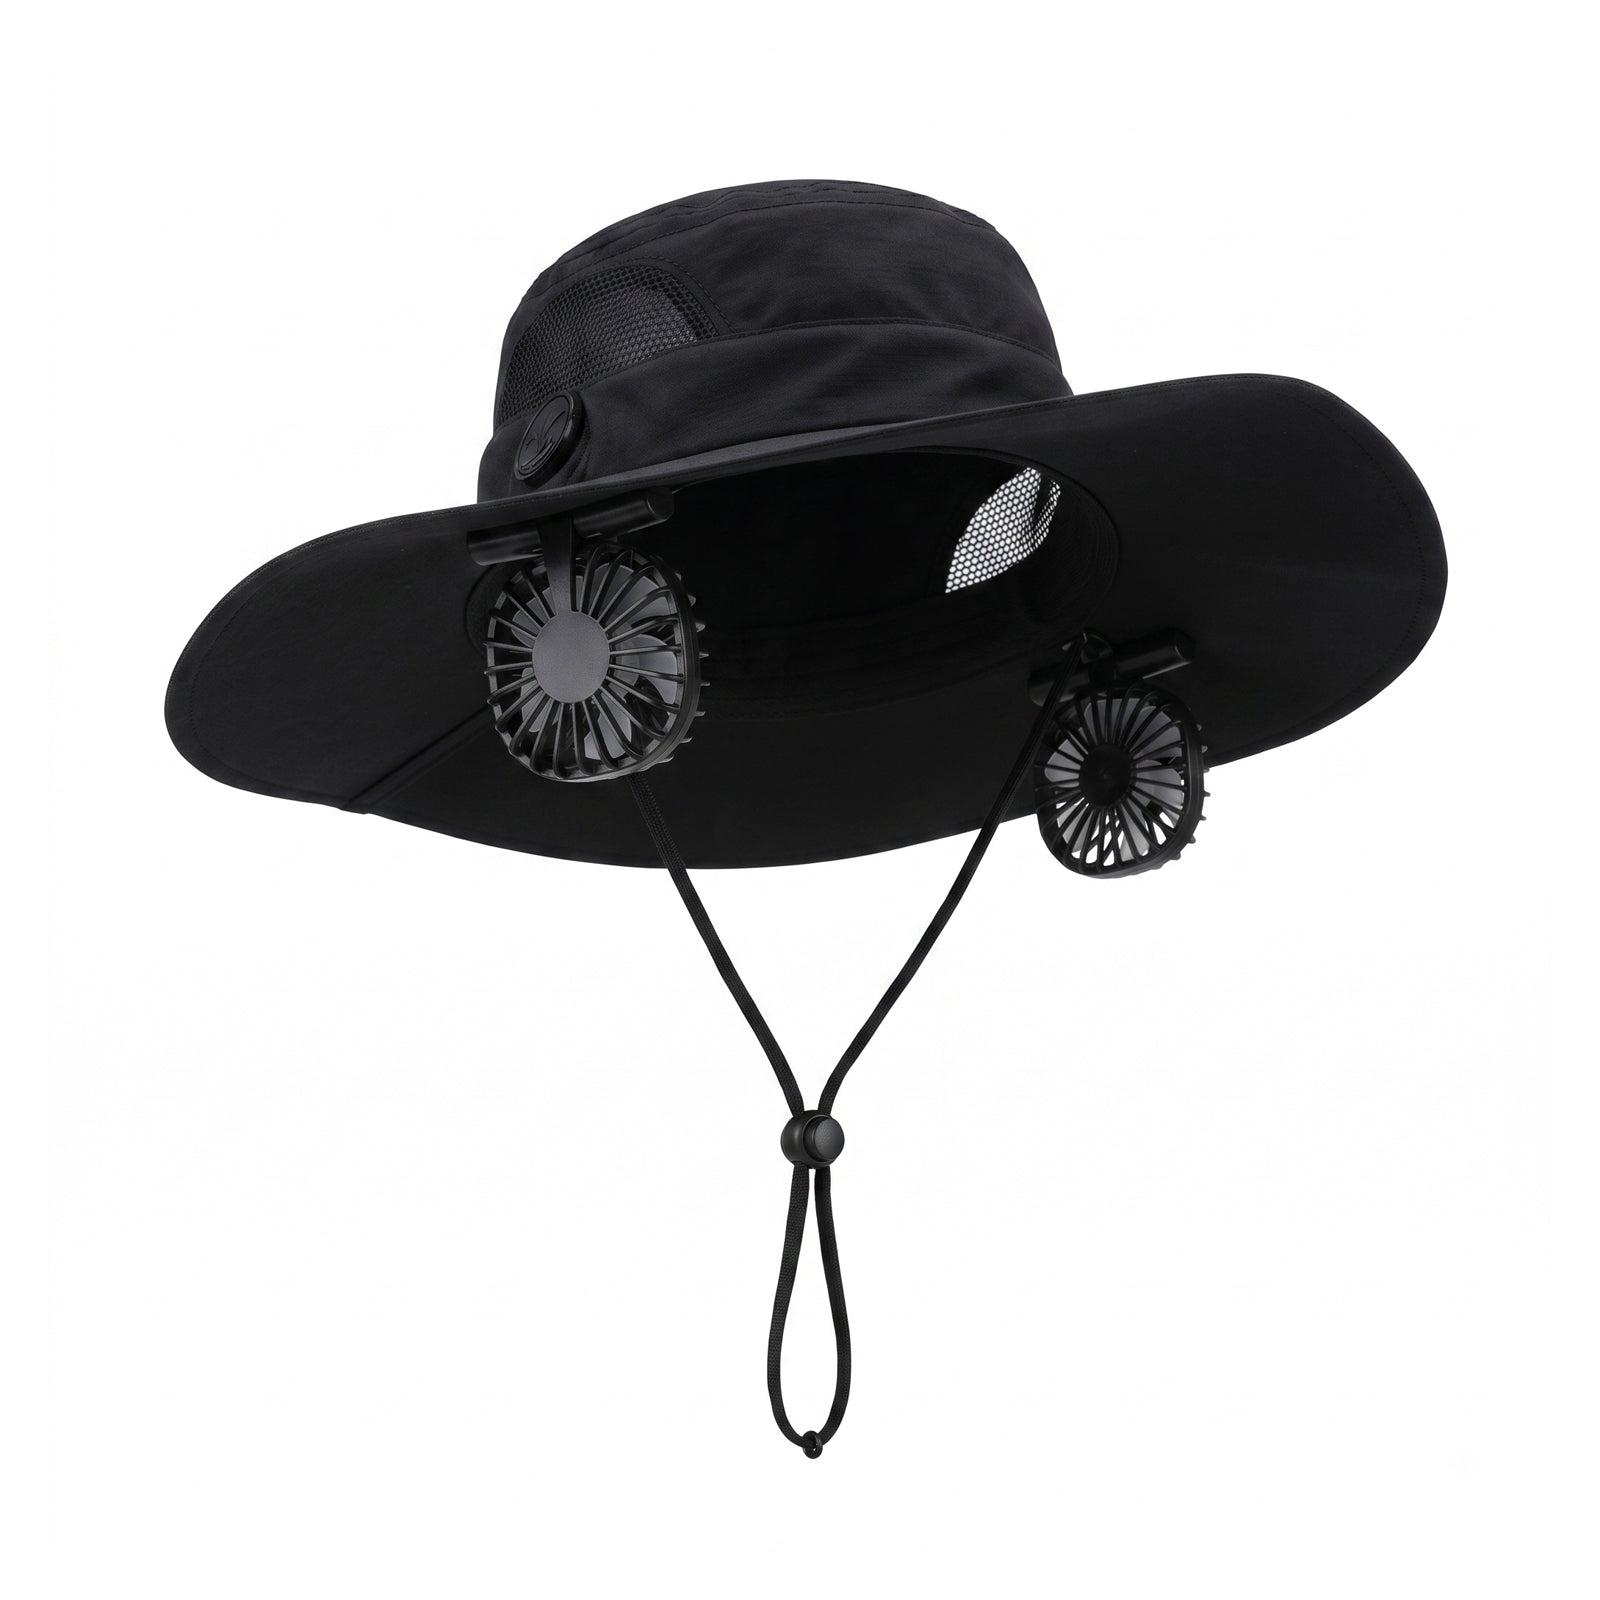
Solar Fan Hat F2
SOLAR FAN HAT

Solar Fan Hat F2

Fan controls, solar charging, USB-C output, status lights and everyday care.

English · PDF · 9 pages · 13.13 MB
Download PDF

Step-by-step help & troubleshooting →

Setup & care notes

Revised September 17, 2026. USB-C output is rated up to 5V/2A; it cannot charge the hat.

Read the green and blue light guide on page 3. Keep loose hair and objects away from fan openings. Solar output varies with sunlight and operating load.

Need more help? Contact support ↗

13W Solar Backpack
FIXED-PANEL SOLAR BACKPACK

13W Solar Backpack

Learn the charging connections, storage features and care instructions for the 13W model.

English · PDF · 12 pages · 2.31 MB
Download PDF

Step-by-step help & troubleshooting →

Setup & care notes

The fixed solar panel supplies power through the internal controller. The backpack has no built-in energy storage; a power bank is not included.

Face the panel toward unobstructed sun, but keep your phone and power bank out of direct sunlight. Shade and movement can interrupt charging.

Power-path clarification: the solar system does not charge a laptop directly. Laptop charging requires a separately supplied power bank with suitable output, protocols and cables. An external USB port is a connection path, not a power source.

Do not wash the backpack with water. Keep electronics and connections dry.

Need more help? Contact support ↗

30W Solar Backpack
EXPANDABLE SOLAR BACKPACK

30W Solar Backpack

Unfold the second panel, identify your connections and care for the 30W model.

English · PDF · 12 pages · 3.25 MB
Download PDF

Step-by-step help & troubleshooting →

Setup & care notes

Unzip the lower compartment and extend the second panel as shown in the manual. Do not sharply bend the solar cells.

The backpack has no built-in energy storage; use your own compatible power bank to collect energy for later use. Keep it and your phone out of direct sunlight.

Power-path clarification: the solar system does not charge a laptop directly. Laptop charging requires a suitably rated power bank and compatible cables. Simultaneous charging and discharging requires a power bank that explicitly supports it.

This web-optimized PDF preserves the 12 content pages; four trailing blank pages are omitted. Charging-time examples are references, not guaranteed field results.

Need more help? Contact support ↗

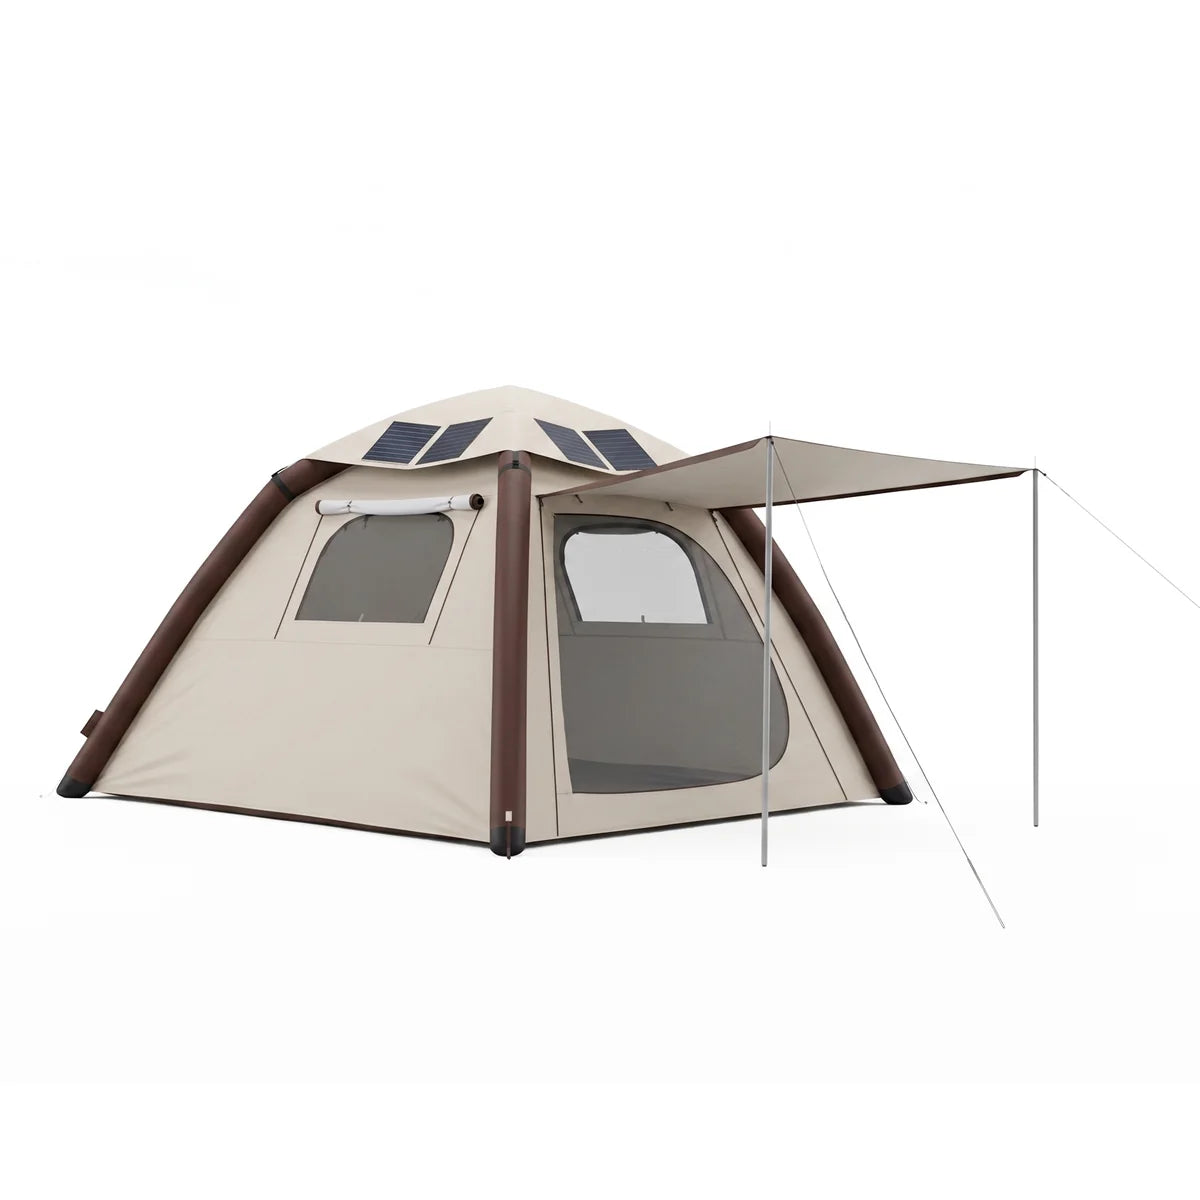
52W Inflatable Solar Tent
SOLAR-POWERED SHELTER

52W Inflatable Solar Tent

Follow the illustrated steps for inflation, the solar roof, wiring and packing away.

English · PDF · 9 pages · 0.54 MB
Download PDF

Step-by-step help & troubleshooting →

Setup & care notes

Lay out and secure the tent as illustrated. Check that valves are sealed, install the pump battery and start inflation. Do not leave the tent unattended while inflating.

Install the separate solar roof and connect its cable to the junction box after the tent is set up. Follow the manual for anchoring and guy ropes.

The pump battery powers inflation; do not assume it stores solar energy for your other devices. Plan a separate compatible energy source for night-time use.

Dry the tent fully before storage. If you are unsure about pump or pressure operation, stop and contact support rather than adjusting the system yourself.

Need more help? Contact support ↗

Luma Solar House Number Lights
SOLAR HOUSE NUMBER LIGHTS

Luma Solar House Number Lights

Installation, light modes, solar charging and care for individual Luma numbers and letters.

English · PDF · 8 pages · 1.62 MB
Download PDF

Step-by-step help & troubleshooting →

Setup & care notes

English manual supplied September 17, 2026. Eight pages; no revision identifier is printed in this file.

Use the mounting template and fixings suitable for your wall. Select a light mode before fitting the light, and keep the solar surface exposed to direct sunlight.

Each character is sold as one light. Charging and runtime vary with sunlight, shade, season, selected mode and battery condition.

Need more help? Contact support ↗

BEFORE YOU BEGIN

Match the manual to your gear.

Check your product name and model before following its instructions. The Audio Cap and Audio Visor have separate manuals. The 13W and 30W backpacks are different products.

PDFs open in a new tab. Use your browser's download or save control to keep a copy for offline use. No sign-in is required.

WE'RE HERE TO HELP

Not sure which one you need?

Tell us the product name or describe your gear. For a product issue, include what happened and the steps you have already tried.

Contact support ↗